Nexus + Prisma: the Future of Backend
6 min read

Nexus + Prisma: the Future of Backend

Setup GraphQL with Nexus + Prisma. Automate code generation, TypeScript generation, and crud resolvers.
Nexus + Prisma: the Future of Backend

GraphQL Nexus and Prisma is the future of backend development. It has the instant feedback you'd expect in 2021, and automates resolvers for common operations.

You can view the source code for this post on github

It does all of this while staying our of our way. Letting you build fully custom logic, while taking advantage of automated features for the simple things.

In this post we will go over how to set it up, and why it's so useful compared to the old days of 2017 when we had to manually make our GraphQL schema, database migrations, and generate TypeScript after we coded our resolvers.

Installing the dependencies

To get started, let's setup a new folder and install everything we need.

mkdir nexus-prisma-boilerplate
cd nexus-prisma-boilerplate
npm init

Let's copy over the package.json containing all the dependencies we will need:

{
  "name": "nexus-prisma-boilerplate",
  "version": "1.0.0",
  "description": "",
  "main": "index.js",
  "dependencies": {
    "@prisma/client": "^2.20.0",
    "apollo-server": "^2.22.2",
    "graphql": "^15.5.0",
    "nexus": "^1.0.0",
    "nexus-plugin-prisma": "^0.33.0",
    "nexus-prisma": "^0.25.0"
  },
  "devDependencies": {
    "@types/node": "^14.14.37",
    "ts-node-dev": "^1.1.6",
    "typescript": "^4.2.3"
  },
  "scripts": {
    "generate": "npx prisma generate",
    "dev": "ts-node-dev --transpile-only --no-notify src/server.ts",
    "build": "tsc",
    "startDb": "docker run -d -p 5432:5432 -e POSTGRES_PASSWORD=root -d postgres"

  },
  "author": "Zach Silveira",
  "license": "ISC"
}

Let's create a tsconfig.json:

{
  "compilerOptions": {
    "target": "ES2018",
    "module": "commonjs",
    "lib": ["esnext"],
    "strict": true,
    "rootDir": ".",
    "outDir": "dist",
    "sourceMap": true,
    "esModuleInterop": true
  }
}

Next, create src/server.ts

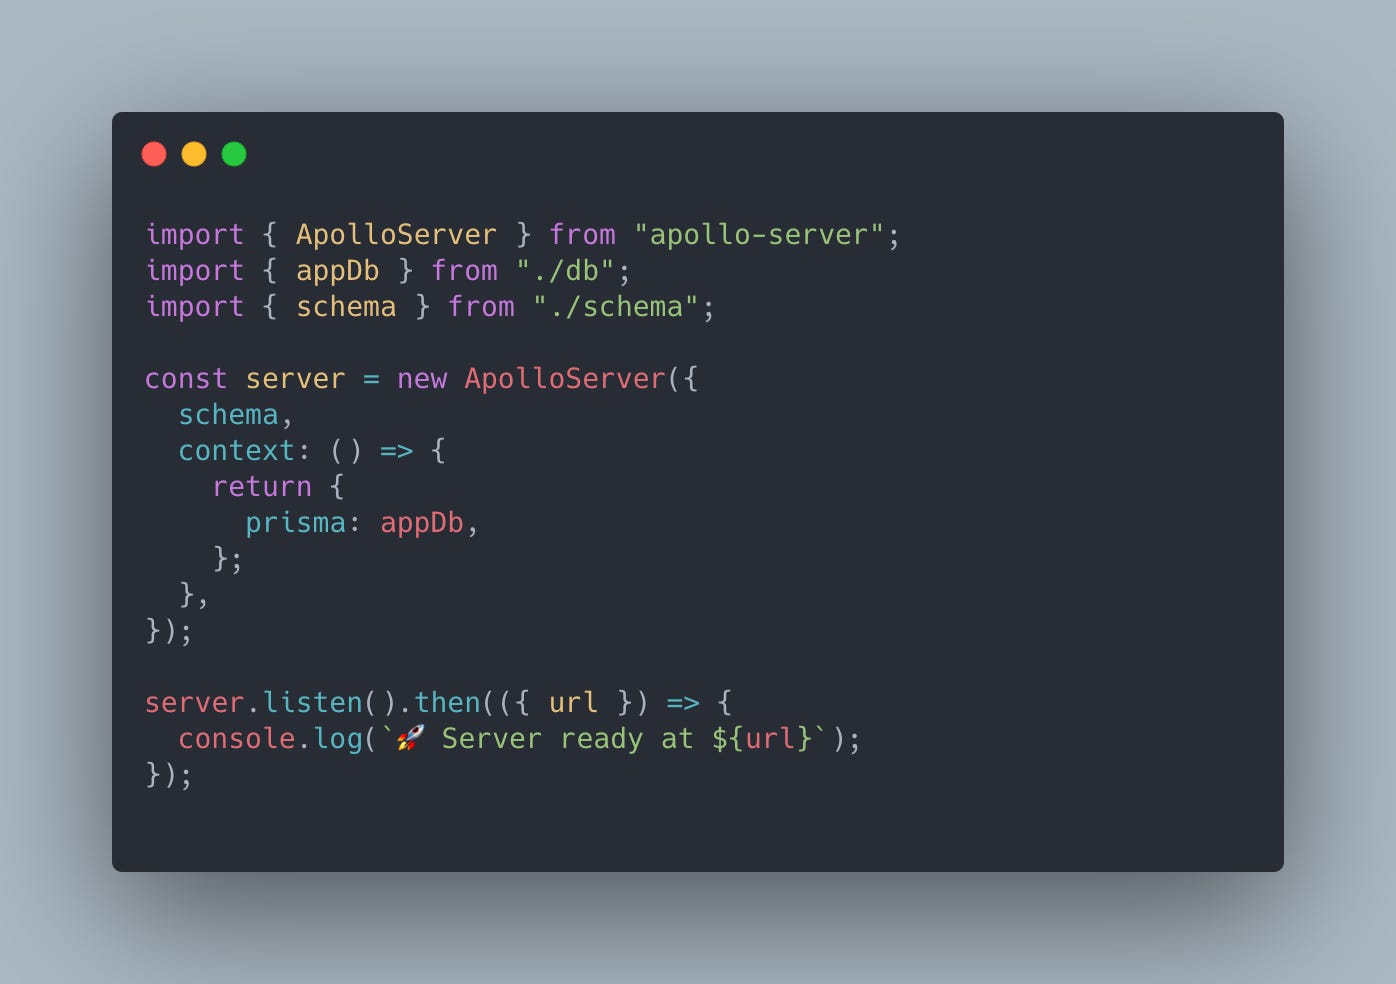
import { ApolloServer } from "apollo-server";
import { appDb } from "./db";
import { schema } from "./schema";

const server = new ApolloServer({
  schema,
  context: () => {
    return {
      prisma: appDb,
    };
  },
});

server.listen().then(({ url }) => {
  console.log(`🚀 Server ready at ${url}`);
});

This will start our apollo server, with the schema we'll be making in a second. It also passes in prisma to the GraphQL context. This is required for Nexus to run its automated resolvers.

Setup Prisma

We initialize prisma in a new project by running

npx prisma init

Now you will have a prisma/schema.prisma file in your project. Let's open this and add the nexus plugin, and a single User model! The entire file should look like this:

datasource db {
  provider = "postgresql"
  url      = env("DATABASE_URL")
}

generator client {
  provider = "prisma-client-js"
}

generator nexusPrisma {
  provider = "nexus-prisma"
}

/// A user
model User {
  id              Int    @id @default(autoincrement())
  name            String
  email           String
  password        String
}

Anytime we change our prisma schema, we need to regenerate our Prisma and Nexus code.

npm run generate

Now our Prisma client is generated and we can access our Postgres database through it. Let's create src/db.ts and put the following

import { PrismaClient } from '@prisma/client'
export const appDb = new PrismaClient()

Now any server code can import appDb to interact with our database.

Nexus GraphQL Schema

Now that Prisma is fully setup and we generated the client code, let's create src/schema.ts which will contain our GraphQL schema, powered by Nexus and Prisma.

import { User } from "nexus-prisma";
import { nexusPrisma } from "nexus-plugin-prisma";
import { makeSchema, objectType } from "nexus";

export const schema = makeSchema({
  plugins: [nexusPrisma({ experimentalCRUD: true })],
  outputs: {
    schema: __dirname + "/generated/schema.graphql",
    typegen: __dirname + "/generated/nexus.ts",
  },
  types: [
    objectType({
      name: User.$name,
      description: User.$description,
      definition(t) {
        t.field(User.id.name, { ...User.id, type: "Int" });
        t.field(User.email.name, User.email);
        t.field(User.name.name, User.name);
      },
    }),
  ]
})

This might be a little confusing as a first time nexus user. This is where the magic starts to happen. First, we call makeSchema and pass it the nexusPrisma plugin. We tell it to auto generate experimentalCRUD functionality for us. More on that in a second.

Next, we tell it where to output the generated GraphQL schema, and TS definitions.

For reference, you can visit the nexus docs for more information on how these methods work. I've found it so intuitive, that I've been able to build out my schema through the TS suggestions after spending less than a couple total hours using Nexus.

Finally, we start creating types in our GraphQL schema. You may be thinking: "I thought everything was automatic from prisma? Why do I have to define the User type in GraphQL?"

Good question. By default Nexus exposes all of our Prisma models to us, but we have to explicitly put this data into GraphQL. This allows us to have private data in our database, only exposing what we choose to.

This object type:

import { User } from "nexus-prisma";

objectType({
    name: User.$name,
    description: User.$description,
    definition(t) {
        t.field(User.id.name, { ...User.id, type: "Int" });
        t.field(User.email.name, User.email);
        t.field(User.name.name, User.name);
    },
}),

uses the User import from nexus-prisma. This is auto generated from Prisma. The description comes from comments in our prisma schema that we put above:

/// A user
model User {
  id              Int    @id @default(autoincrement())
  name            String
  email           String
  password        String
}

In the objectType, the description for a User will come from Prisma, so we only have to define it in one place. We also choose which fields to expose, in this case, we do not expose the password field, but we do return the others.

Start the server

If we run

npm run dev

The server should start up, and Nexus will generate TS types from our schema inside of src/generated. We can open up http://localhost:4000 and see the user shows up in our schema inside of the playground:

# A user
type User {
  id: ID!
  email: String!
  name: String!
}

Adding a CRUD resolver

Now let's add a couple resolvers around the User, without doing ANY real work on our end! Open up src/schema.ts, and add to the bottom of the types: [] array:

// Add these imports to the top
import { mutationType, queryType } from "nexus";

...

queryType({
  definition(t) {
    t.crud.user();
    t.crud.users();
  },
}),
mutationType({
  definition(t) {
    t.crud.createOneUser();
  },
}),

If we open up the Playground in our browser again, we will see three resolvers!

These are full featured, with everything we need. Let's take a look at createOneUser

It has the input type exactly like we would have manually typed out ourselves.

Spinning up Postgres

Before we can hit this resolver to try it out, we need to spin up postgres. If you have Docker installed, you can run

npm run startDb
npx prisma migrate dev

When it asks for a migration name, put whatever you want. Prisma automatically makes migrations when we change the prisma.schema file, and run the migrate commands. For more info, visit the prisma docs.

Side note, if you have used knex, or Objection and GraphQL in the past. Chances are, you manually creating migrations in knex. Manually made your GraphQL schema, and then manually generated TS types on your server, or just used plain JS. Just another reminder how much these tools are doing for us :)

Calling createOneUser

Inside of GraphQL playground, run the following mutation on the left side:

mutation {
  createOneUser(data: {
    name: "Test", 
    email: "test@test.com", 
    password: "test"}
  ) {
    id
    email
    name
  }
}

You should see it complete successfully! We have correctly implemented Prisma and Nexus, and used one of its auto generated CRUD operations.

Query for the user

query {
  user(where: {id: 1}) {
    id
    email
    name
  }
}

This should return the same response as the mutation we ran.

Custom Resolvers

Okay... I get it, not everything we do is so easy that we can automate it. Even when you do custom logic, Nexus is a lifesaver... and a time saver. Check this one out:

src/customUserResolvers.ts

import { mutationField, nonNull, queryField } from "nexus";
import { appDb } from "./db";

export const storeUser = mutationField("storeUser", {
  type: "User",
  description: "Stores a user manually",
  args: { input: nonNull("UserCreateInput") },
  resolve: async (_, { input }) => {
    let user = await appDb.user.create({ data: input });
    return user;
  },
});

I created a mutation, called storeUser. I am able to reuse the automatic UserCreateInput type from Nexus, and then use Prisma myself in the resolve function. It doesn't get much better, or easier than this!

Instant TS Generation

Here's another one that used to really suck when I had to use apollo-server by itself, and graphql-code-gen.

In the past, if I tried to make a resolver like this:

export const getStoredUser = queryField("getUser", {
  type: "User",
  args: { id: nonNull("Int") },
  description: "gets a user name",
  resolve: async (_, { id }, { user }) => {
    return appDb.user.findFirst({ where: { id } });
  },
});

I hit save, while the server is running, I run GraphQL codegen, now I come back to this resolver, and import the TS type.

With Nexus, I don't have to do any of that... and it updates on the fly. What if I change the above resolver to also take an email argument:

export const getStoredUser = queryField("getUser", {
  type: nullable("User"),
  args: { 
      id: nullable("Int"), 
      email: nullable("String") 
  },
  description: "gets a user name",
  resolve: async (_, { id, email }) => {
    if (email) return appDb.user.findFirst({ where: { email } });
    if (id) return appDb.user.findFirst({ where: { id } });
    return null;
  },
});

When I hit save, the id, email inside of the resolve function will update to the new type definitions and become nullable. The return type will also become nullable, without ever having to save at just the right moment, before a type error occurs, so that you can run GraphQL codegen.

Conclusion

Check out the completed boilerplate on github if you missed anything along the way. I hope you see the power in automating resolvers, with the immediate TS feedback that Nexus provides when going custom. It's the only way I will be writing GraphQL backends from now on.

Enjoying these posts? Subscribe for more